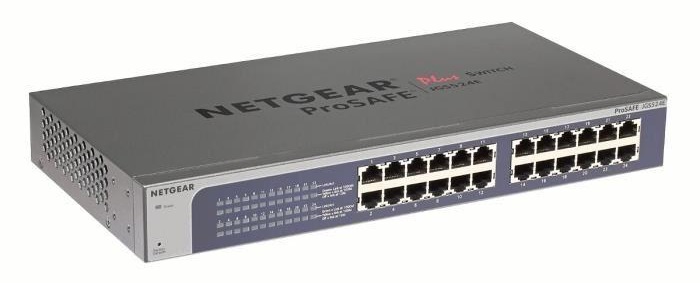
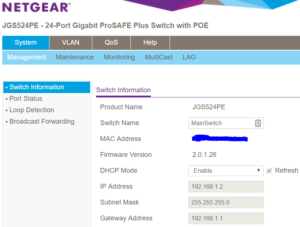
This post explains how to configure the line of Netgear Web Managed Smart Switches WITHOUT installing their configuration utility (using only your web browser).
Not sure why Netgear pushes users towards installing their configuration utility in order to perform simple setup tasks, but it is not necessary (and, IMO a complete waste).
By default, the switches come configured with a DHCP client enabled, so out of the box, the switch will get an IP from whatever DHCP server you have on the network (likely your router).
All you need to do is know what IP the switch gets, and you can access the Web Configuration tool as you would almost any other web-managed switch/router/cablemodem…etc.
- Plug the switch into a live power outlet and your wired network (using any port on the front of the switch)
- Identify the IP address of the switch
* Your router will have an area called “attached devices” or “DHCP Leases” or something to that effect, that will list everything connected. The switch will likely be the device that you don’t recognize that doesn’t have a name. - Log into the Web Configuration tool using your favorite web browser
* The URL will be https://<SWITCH_IP>
* The default password is “password” (your first config update should be to CHANGE THIS!)
Applies to:
Netgear GS105Ev2
Netgear GS105PE
Netgear GS108Ev3
Netgear GS108PEv3
Netgear GS116Ev2
Netgear JGS516PE
Netgear JGS524Ev2
Netgear JGS524PE

